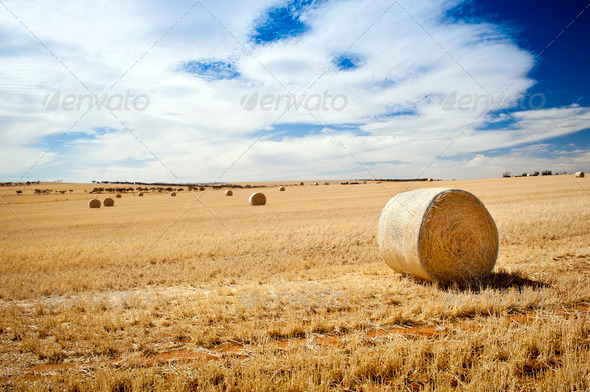
In this tutorial, you will learn How to Create Stylized Hay Bale Typography in Photoshop. This is on categories advanced tutorial. You can learn tutorial step by step and more easly. so let us start.
Step 1
- Open field picture.
- Go to Image-Image Size and change its all parameters like on the picture below.

Step 2
Now you will bring in original picture as a Smart object. You need to do that to have one bigger hay bale in front of the picture later on.- Open Mini Bridge.
- Navigate to image file on your disk.
- Grab it and drag it onto the canvas.
- Change its name to "Harvest_final".

Step 3
In Paths palette create new path call it "hay bale". Activate Pen (P) tool and draw shape around hay bale. Create selection from this path by pressing dashed circle [1]. Alternatively you can press Command/Ctrl and press on Path thumbnail to make selection from it.
Step 4
Press Command/Ctrl + J to create new layer. Call it “Hay bale 1″.
Step 5
Duplicate this layer two times, to do that press Command/Ctrl + J. Place them as on screen grabs using Transform (Command/Ctrl + T) tool. You will adjust they position later.
2. Create 3D Typography
Step 1
Activate Type tool and type HARVEST of the middle of canvas. Set type properties as on the screen grab.
Step 2
Press Command/Ctrl + T and transform typography to fit better on the canvas. Then press Right Mouse Button and choose New 3D Extrusion from Selected Layer.
Step 3
With Scene selected in 3D palette adjust typography position using 3d transform tools. Position typography this way that margins on left and right side are equal.- Use 3d transform tools to position letters:
- [1] Rotate will allow you to rotate object on X,Y,Z axes.
- [2] Roll will allow you to rotate object in screen space.
- [3] Drag will allow you to move object in all directions.
- [4] Slide will bring object closer or away from you based on XYZ axes of currently selected object.
- [5] Scale will make selected object bigger or smaller.

Step 4
Set Environment position like on the screen grab. You can type values to appropriate fields to speed up process.
Step 5
Set Current View position like on picture below.
Step 6
You can change Extrusion Depth by selecting Mesh object in 3D palette.
Step 7
Select Light and in its Properties palette turn off Shadow [1]. Change name to this layer to “HARVEST extrusion”.
Step 8
Duplicate extruded text layer to simulate sun light in the scene.- Duplicate extruded text layer.
- Change its name to "HARVEST shadow".
- Drag it below "HARVEST extrusion" layer
- Turn on Shadow and adjust it position by dragging little light source [3].
- Try to match shadows direction on the picture.

Step 9
Now select HARVEST extrusion layer and from the Right Click Menu choose Rasterize 3D.
Now the tutorial Create Stylized Hay Bale Typography in Photoshop: Advanced Tutorial has been finished. If you need any tutorial to improve your skill in Photoshop please visit other tutorial on this blog. Ok thanks for coming.
By Tomasz L


No comments:
Post a Comment